




Renovation teams start most projects with questions about the existing building. Original drawings age quickly. Field crews add undocumented changes across decades. Site conditions drift away from paper records. Auditors who review these files daily see the gap between recorded geometry and real geometry every week.
Laser scanning closes that gap. Scanners capture the building exactly as it stands today. Autodesk ReCap organizes that data into a project file Revit reads with confidence. From there, engineers build intelligent models that mirror actual conditions.
This article walks through RCP to Revit conversion, tracing the technical path from raw scan to validated model. It explains each stage from a practitioner seat, draws on field notes from real audits, and shows how disciplined work raises accuracy.
What Is an RCP File?
RCP stands for ReCap Project. Autodesk built this format as a container that references indexed scan data. The RCP file points to one or more RCS files, and each RCS file holds an individual registered scan position.
Many engineers assume the RCP file stores the scan points directly. The RCP file actually acts as a lightweight index. It groups multiple RCS scans into one unified dataset that Revit loads with strong performance. Autodesk designed this structure so large captures stay easy to handle inside a BIM environment.
Every point in the dataset carries X, Y, and Z coordinates. Together they describe walls, floors, ceilings, columns, ducts, and equipment as measured surfaces. Scanner cameras add true color, so each point also records RGB data.
Revit reads three format families. RCP and RCS serve as the Autodesk native pair. E57 arrives as the open ASTM standard, and Revit 2025 imports E57 files directly. Older formats such as PTX, PTS, and FLS pass through ReCap Pro first. The software converts them into indexed RCS scans.
The Scan to BIM discipline treats the RCP file as the measured foundation for everything that follows.
What Is RCP to Revit Conversion?
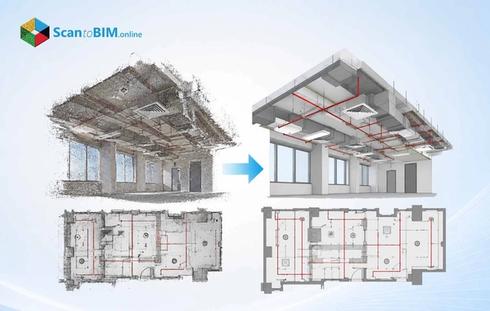
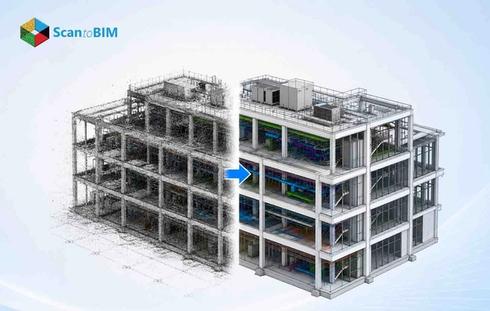
RCP to Revit conversion turns organized point cloud data into intelligent Revit geometry. Engineers trace the scan surfaces and place parametric families that match the real building. The result becomes an intelligent model rather than a flat drawing.
Traditional drafting forces engineers to interpret legacy 2D documents. That interpretation invites measurement guesses and stale assumptions. RCP to Revit flips the approach. Modelers work from verified reality, so the model reflects measured conditions from the first wall onward.
The RCP to Revit conversion process produces coordinated architectural, structural, and MEP elements inside a single Revit file. Each element carries dimensions, materials, and asset attributes. Revit also preserves relationships across elements, so plans, sections, elevations, and schedules update together when geometry changes.
This affirmative, reality-first method delivers a model that owners trust for renovation, coordination, fabrication, and facility management.
How the RCP to Revit Workflow Works
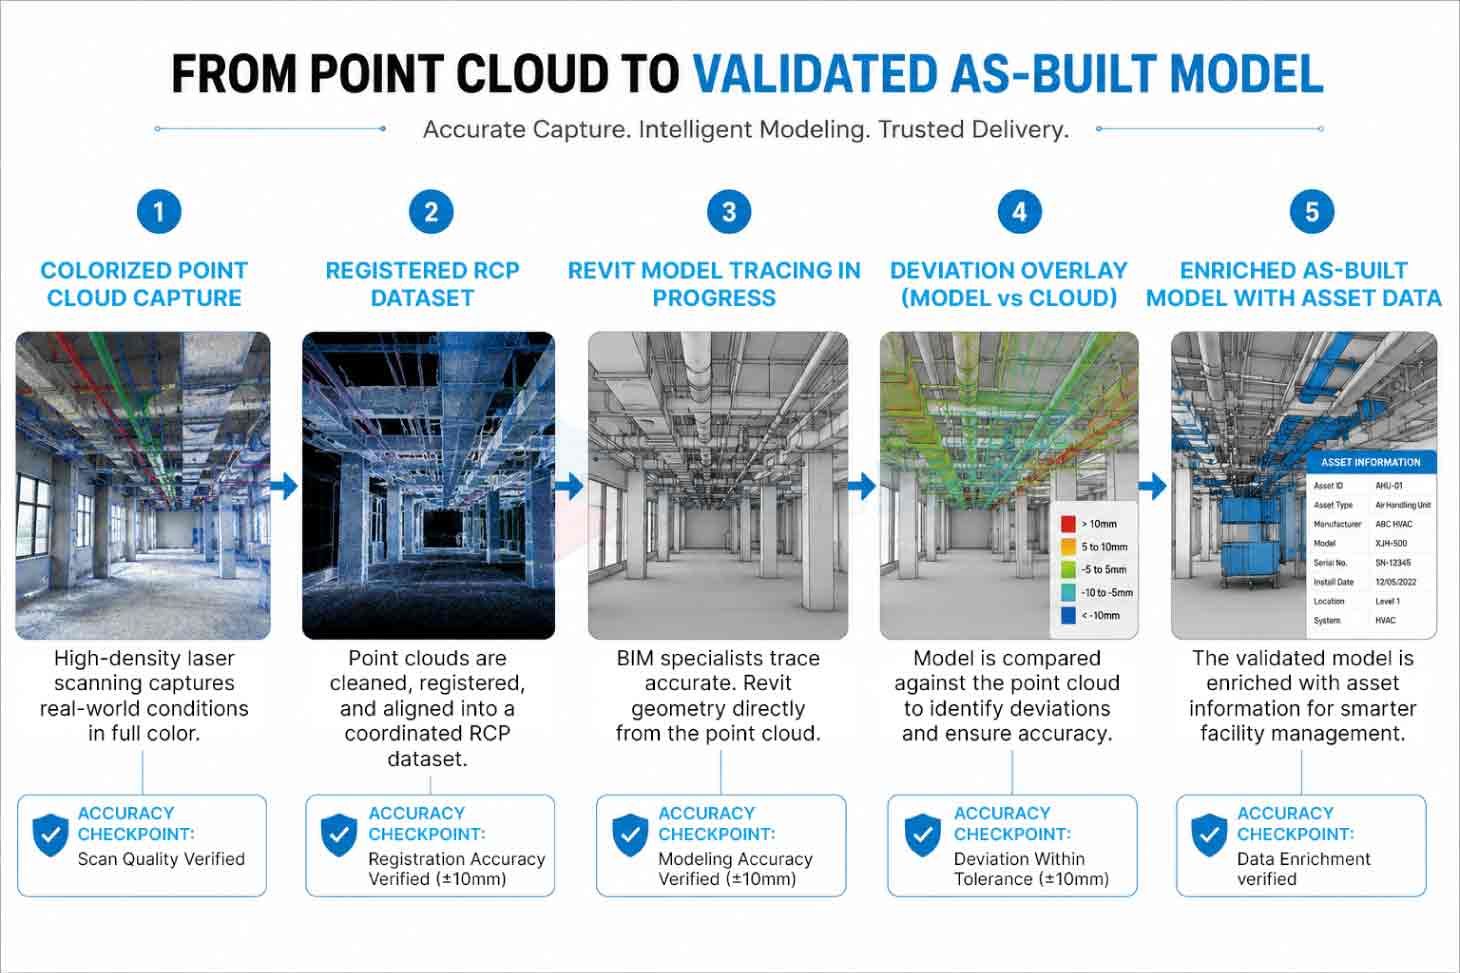
So how does a raw scan become a trusted model? Every accurate point cloud to BIM project moves through a set sequence. The process breaks down into five stages below. Get the data right first, and the modeling gets easier. Poor data preparation may lead to rework later and coordination issues.
Stage 1: Scan Capture and Registration
Field teams set terrestrial scanners around the site, station by station. A strong unit sweeps 360 degrees across and 270 degrees up. One setup can log millions of points. The skill sits in the station choice. Pick smart positions and you cover the whole floor in fewer setups, with fewer shadow gaps behind columns and equipment.
Then comes registration. ReCap or Cyclone stitches every scan position into one shared coordinate system. Sloppy registration here haunts the entire job. When the alignment holds tight, the model that follows inherits that same spatial honesty. Teams check the registration report before anyone models a single wall.
Stage 2: Data Cleaning and RCP Creation
Raw scans carry junk. Passing pedestrians, stray reflections, and scaffolding that came down weeks ago all clutter the image. Cleaning strips all of it out. The file gets lighter, and the real surfaces read clearly for the tracing work ahead. The tidied capture is then written out as an indexed RCP project by ReCap, and that file heads into Revit.
Stage 3: Import and Coordinate Alignment
Engineers link the RCP file through the Insert tab inside Revit. Linking references the external file, so the RVT project stays lean. During import, teams align the point cloud with the project base point and survey point using shared coordinates. Correct alignment locks the model to true site position from the start.
Stage 4: Levels, Grids, and Modeling
A modeler snaps to a floor surface, then a ceiling surface, and sets the real level heights from the scan itself. The structural grid goes down next. Walls, columns, beams, slabs get traced straight over the points. Doors, windows, and stairs come after that, built to whatever detail the brief calls for.
MEP waits for last, and for good reason. Ducts, pipes, cable trays, conduits, and plant equipment must be installed last. Each service has to sit clear of the structure around it. The installation is the fiddly part, and it is where fabrication accuracy lives or dies downstream. So it earns the most checks.
Stage 5: Quality Assurance and Data Enrichment
Now the model meets the cloud again. A QA specialist overlays the two and runs a deviation pass. Anything that drifts past tolerance lights up. Those flags get worked one by one until the model sits inside the agreed threshold. After the geometry passes, engineers load the elements with the data an owner actually wants at handover: asset tags, material specs, and equipment attributes.
Traditional As-Builts vs. RCP to Revit Conversion
| Aspect | Traditional As-Built Methods | RCP to Revit Conversion |
|---|---|---|
| Data source | Manual field measurements and legacy 2D drawings | Registered laser scan data captured in RCP and RCS point clouds |
| Accuracy | Prone to human error and drawings that fall out of date | Elements traced directly from measured points, typically within a one to two-inch band at LOD 300 |
| Discipline coordination | Separate surveys per discipline create conflicting data | Shared coordinates align architectural, structural, and MEP work in one model |
| Validation | Rarely checked against actual site conditions | Deviation analysis compares the finished model back to the point cloud |
| Rework risk | Higher, since clashes surface during construction | Lower, since clashes get caught during design |
| Deliverable | Static 2D drawings | Intelligent Revit model with schedules, materials, and asset data |
How RCP to Revit Improves As-Built Model Accuracy
Accuracy carries direct consequences for procurement, fabrication, installation, and scheduling. A precise model protects every downstream decision. RCP to Revit raises accuracy through several concrete mechanisms.
Measured geometry replaces guesswork: Modelers trace real surfaces, so wall thickness, ceiling height, and column position match the standing building. That measured basis is why Point Cloud to As-Built models catch the undocumented changes legacy drawings miss.
Shared coordinates align every discipline: Architects, structural engineers, and MEP designers work from one registered cloud. This single source removes the conflicting surveys that create coordination gaps. Clash detection then surfaces conflicts during design rather than construction.
Deviation validation confirms fidelity: Here the model gets checked back against the cloud through a colored deviation map. Red where it strays, green where it holds. A normal LOD 300 job keeps elements inside a one inch to two inch band. That discipline shows up in the research too. Research logged roughly a 60% drop in geometric deviation across the interior scenes it tested. That measured check is the reason owners lean on As-Built BIM models at handover.
Coordinated data cuts field surprises: Get the existing conditions right up front and the rework curve bends down. Fewer clashes, fewer change orders. Every conflict caught in the model is a conflict the crew skips on site. Those are dollars that stay in the budget instead of leaking into the field.
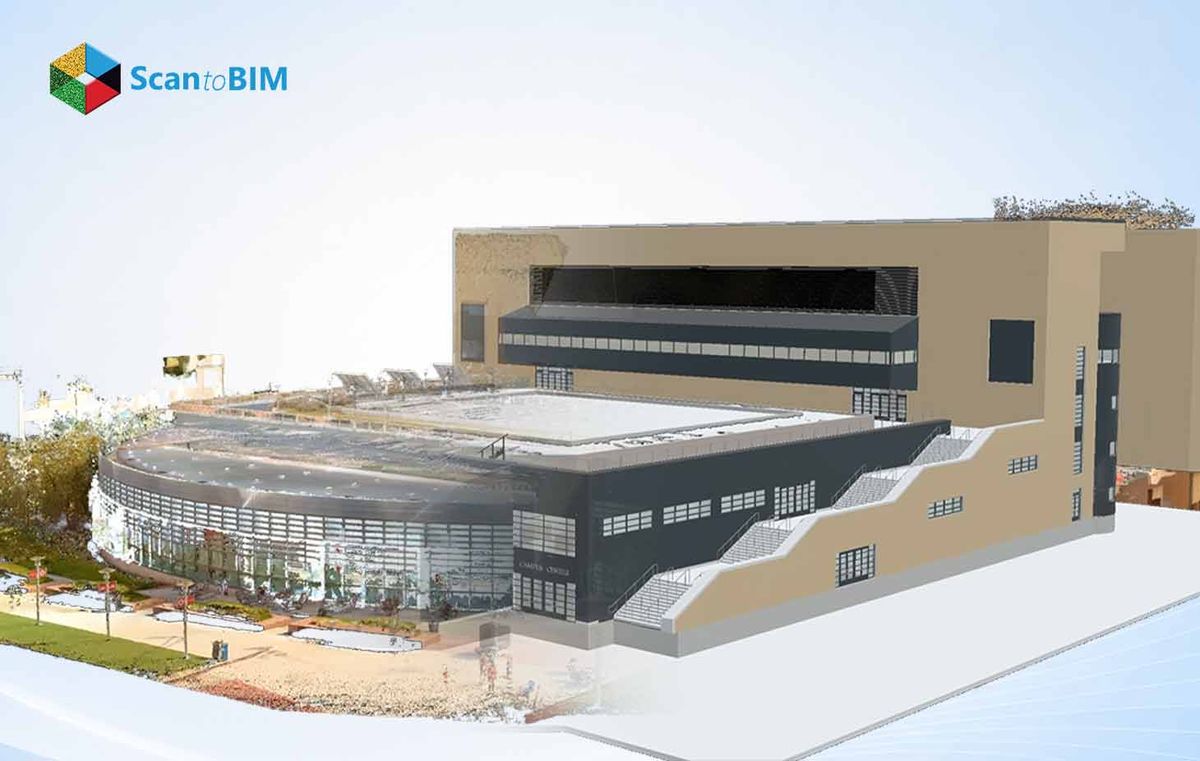
The visual below shows how a raw point cloud transforms into a validated model.
Common Challenges in RCP to Revit Projects
Even strong workflows meet obstacles. The list below flags the common ones so teams can plan around them early.
Incomplete scan coverage
Occluded corners and blocked sightlines leave gaps in the cloud. Modelers then face missing geometry. Careful scan planning with overlapping stations solves these issues before capture ends.
Registration drift
Loose registration spreads small alignment errors across the whole model. Teams verify registration accuracy through the ReCap quality report ahead of any modeling.
Excess point noise
Heavy noise slows tracing and hides true surfaces. Thorough cleaning inside ReCap restores clarity and trims file weight.
Large dataset handling
Building scale captures reach hundreds of millions of points. Modelers manage weight through section boxes, reduced view density near 25% to 50%, and plan view modeling. Linked clouds keep the RVT file compact.
Ambiguous LOD scope
Fuzzy detail expectations produce a model nobody asked for. Pin the LOD down at kickoff, anywhere from LOD 200 to LOD 500, element by element. Then everyone knows what a finished wall or a finished duct run actually means.
MEP complexity
Crowded mechanical rooms hide services behind one another. Modelers apply construction knowledge and standard sizing rules to read partially visible runs with confidence.
These challenges are common across many Scan to BIM projects, but proper planning can help mitigate them. A good team plans around each one before capture day. Set the standards early, validate as you go, and keep the point cloud to Revit work honest.
Why Outsource RCP to Revit Conversion?
Firms outsource conversion for practical, affirmative reasons. Laser scanners and advanced processing hardware carry steep costs. A specialized partner absorbs that investment and applies trained modelers to every file.
As-Built Modeling Services partners bring proven QA procedures, multiple discipline capability, and experience across renovation and retrofit work. They deliver coordinated RVT, IFC, and CAD outputs at the LOD each project demands.
A good partner works with your time zone. Dedicated project coordination helps you maintain scope control, communication, and delivery schedules. And when the building is sensitive, ask how they guard the data. A serious firm answers that question with specifics.
Firms that outsource RCP to Revit conversion buy back speed and certainty at once. They skip the scanner purchase. They skip the hardware bottleneck that stalls the queue. What lands on the desk is a validated model built to a known standard, and the internal team spends its hours on design calls rather than raw point cloud data.
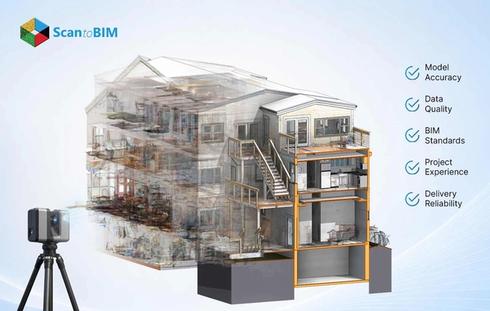
Firms comparing providers should weigh portfolio depth, Reality Capture Services experience, ReCap and Revit proficiency, and clear validation reporting. A partner strong across these areas delivers RCP point cloud to Revit models that owners trust for years.
Conclusion
Good existing condition data has become the thing every renovation now leans on. RCP to Revit conversion hands teams a clean route from measured reality to a working BIM model. The four things that get you there are plain enough: registered scans, tight alignment, careful tracing, and a validation pass that actually catches drift.
Why fuss over the workflow at all? Because a precise model quietly protects the budget and the schedule long before anyone breaks ground. The owner walks away with a lasting record of the building. The contractor faces fewer unexpected challenges in the field. The designer works with geometry they can trust.
Firms that pair quality scan data with skilled RCP to Revit services turn complex projects into predictable, well-coordinated work. Effective point cloud modeling ensures the model remains accurate, and an honest model keeps the project on course.